Procedure 1: Bypassing the Network Setup
Step 1.
On the "Let’s connect you to a network" screen, press Shift + F10 (or Fn + Shift + F10).
Step 2.
Type the following and press Enter: OOBE\BYPASSNRO
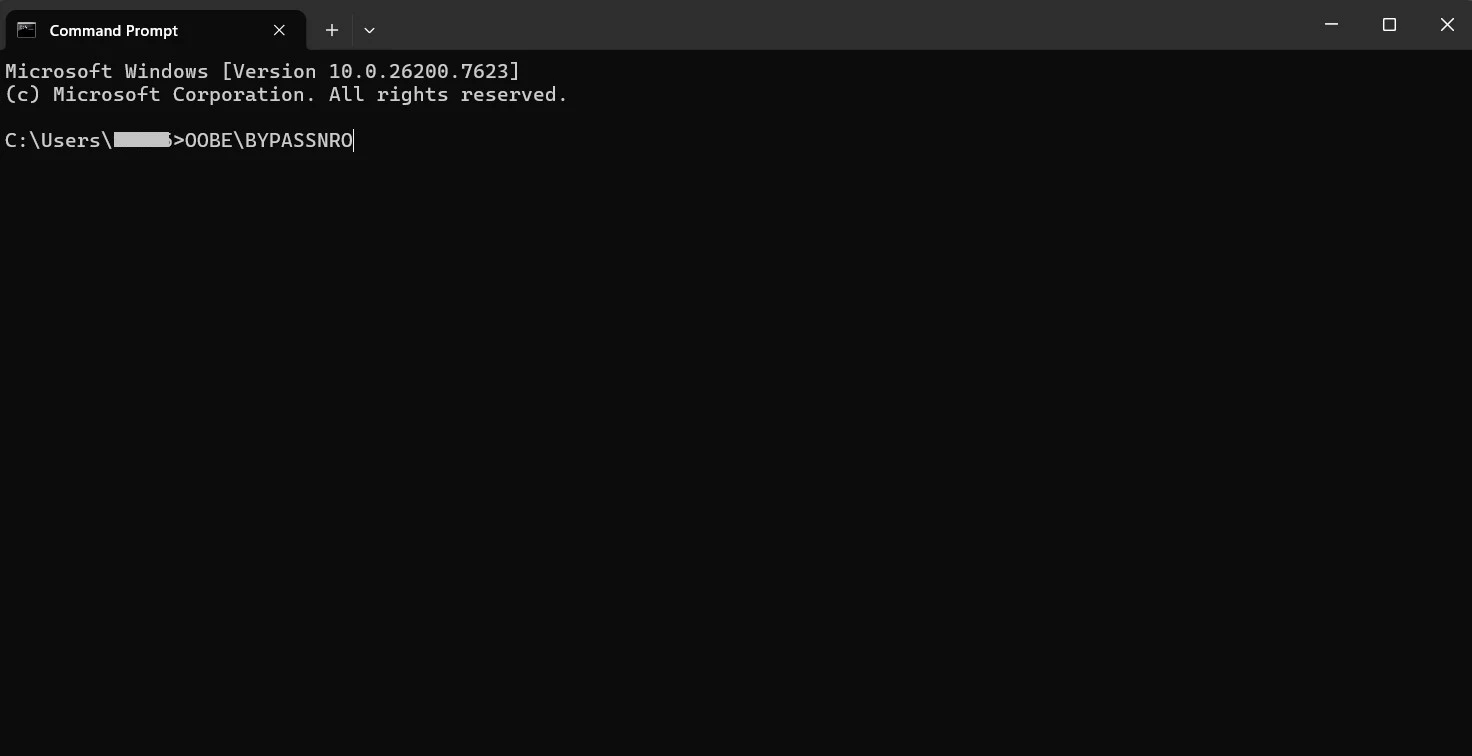
Step 3.
Your PC will restart. Select "I don't have internet" when you return to the network screen.
Procedure 2: "ms-cxh" Command (2026)
If Method A fails to show the "I don't have internet" button:
Step 1.
Open the Command Prompt again (Shift + F10).
Step 2.
Type the following and press Enter: start ms-cxh:localonly
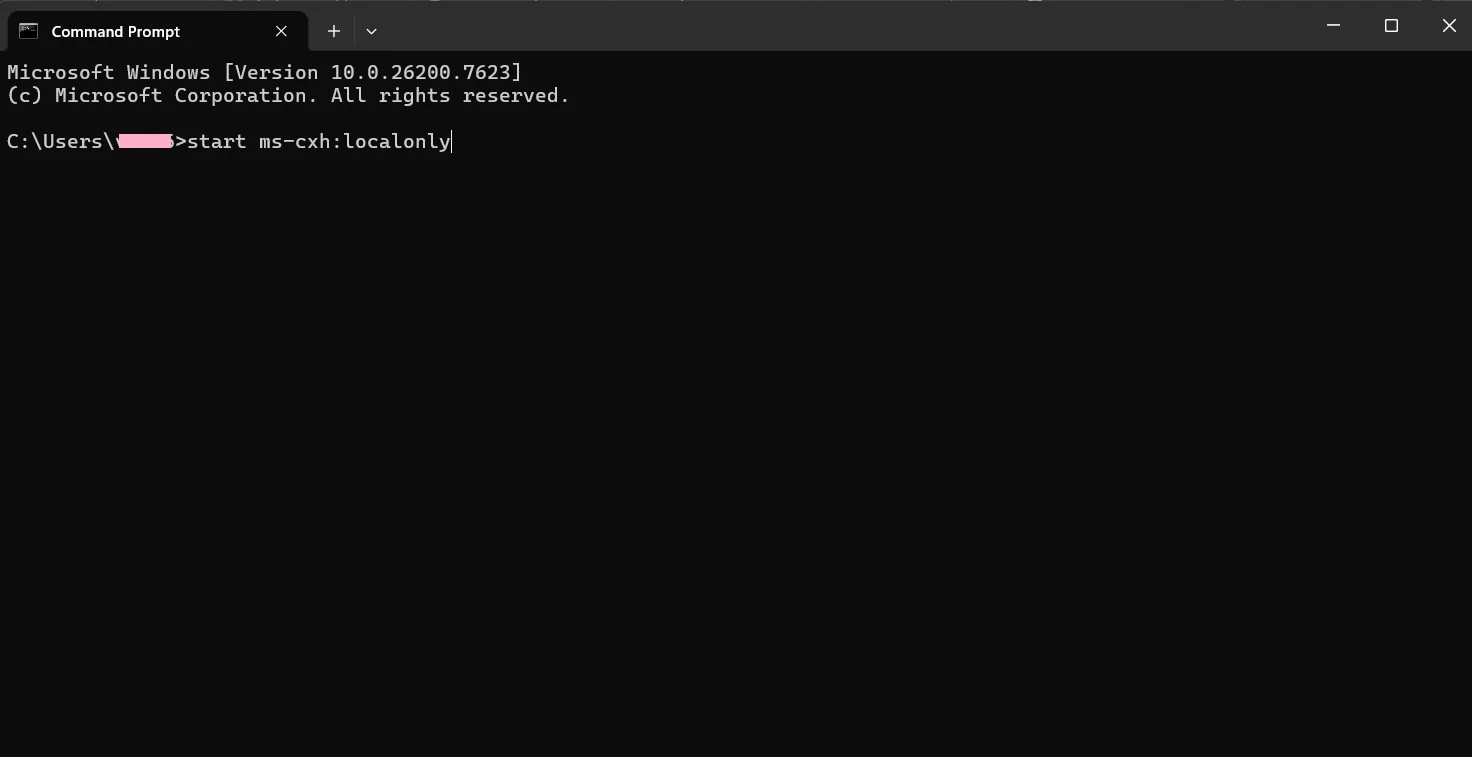
Step 3.
The Result: This triggers the local account window immediately, bypassing the reboot.